Subject: Basic Science and Technology (ICT)
Class: Primary 2
Topic: Features of a Printer
Week: 3
Term: Third Term
Duration: 40 minutes
A. Lesson Objectives
By the end of the lesson, pupils should be able to:
Identify a printer as an output device.
Mention and describe the key features (parts) of a printer.
State the use of each part of the printer.
Recognize a printer from pictures or real objects.
B. Instructional Materials
Real printer or large picture/chart of a printer
Flashcards showing parts of a printer
Printed documents or pictures as examples
Whiteboard and marker
C. Lesson Content
1. What is a Printer? (Quick Review)
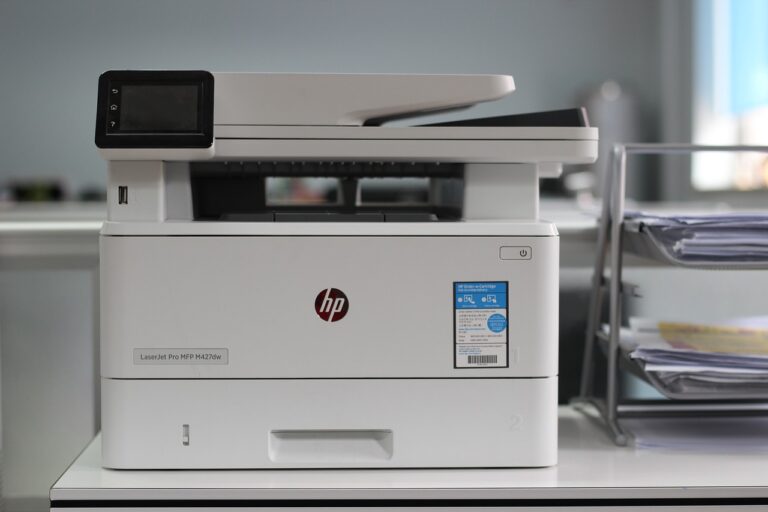
A printer is a machine that takes words, numbers, and pictures from a computer and prints them on paper. It is called an output device because it gives us results from the computer.
2. Features (Parts) of a Printer
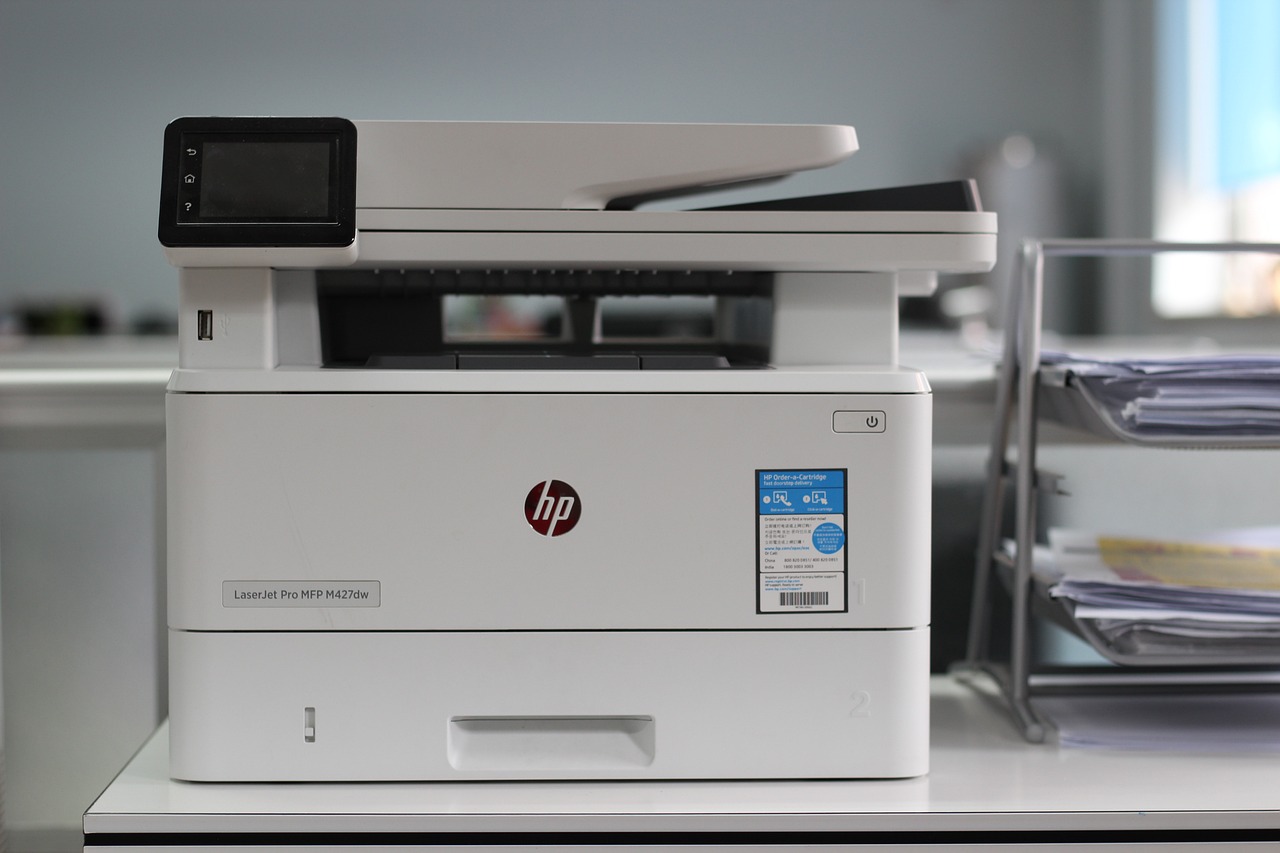
A printer has different parts that help it work. Let’s look at some important ones:
A. Paper Tray
What it is: A part where we load clean (blank) paper.
Use: It holds the paper before printing.
B. Paper Output Tray
What it is: A flat space or holder where printed paper comes out.
Use: It collects printed documents.
C. Ink or Toner Cartridge
What it is: A container with ink (for inkjet printers) or toner (for laser printers).
Use: It helps to print text or images on paper.
D. Power Button
What it is: A small button usually marked with a circle and line.
Use: It turns the printer ON or OFF.
E. USB/Power Cable Port
What it is: A space or slot at the back for cables.
Use: It connects the printer to electricity and sometimes to the computer.
F. Display Panel (Optional, for advanced models)
What it is: A small screen that shows status like “Ready,” “Printing,” or “Out of Paper.”
Use: It helps us know what the printer is doing.
3. Summary of Printer Features
| Feature | Use |
|---|---|
| Paper Tray | Holds blank paper before printing |
| Output Tray | Holds paper after printing |
| Ink/Toner Cartridge | Holds ink for printing |
| Power Button | Turns printer ON or OFF |
| USB/Power Cable Port | Connects printer to computer/power |
| Display Panel | Shows printer status (if available) |
D. Class Activities
Activity 1: Name That Part
Show a large diagram or real printer. Ask pupils to point to each part and name it.
Activity 2: Matching Game
Provide cards with pictures of printer parts and names. Pupils match them correctly.
Activity 3: What Does It Do?
Ask pupils: “What does the paper tray do?” “What do we use the power button for?” (and so on).
E. Evaluation (Assessment)
Ask pupils the following:
Mention 3 parts of a printer.
What is the use of the ink cartridge?
What do we call the place where printed paper comes out?
Which part turns the printer on or off?
F. Assignment
Draw and label any three parts of a printer.
Write one sentence each about what they do.
G. Conclusion
A printer has many parts, and each one helps it work properly.
We should take care of the printer and handle it gently.
When we understand the parts, we can use a printer better.
