Subject: Mathematics
Class: Primary 1
Topic: Length
Week: 2
Term: Third Term
Duration: 40 minutes
A. Lesson Objectives
By the end of this lesson, pupils should be able to:
Understand the concept of length as a measurement of how long or short an object is.
Compare the lengths of objects using terms like “longer”, “shorter”, “tall”, “short”, and “long”.
Use non-standard units (e.g., hands, feet) to measure the length of objects.
Identify common objects that are longer or shorter than others.
B. Instructional Materials
Measuring tapes (optional)
Rulers
Length comparison flashcards
Picture cards of objects of different lengths
Pencils, erasers, and drawing materials
C. Lesson Content
1. Introduction to Length
Length is the measurement of how long or short something is. We can use different tools to measure length, such as rulers, measuring tapes, or even parts of our bodies like hands or feet.
For example:
The length of a pencil is measured with a ruler.
The length of a table is measured with a tape.
2. Comparing Lengths
We can compare the length of different objects. Some objects are longer, while others are shorter.
Longer: This is when one object is more extended or stretched than another.
Example: A ruler is longer than a pencil.
Shorter: This is when one object is less extended than another.
Example: A pencil is shorter than a book.
3. Measuring Length Using Non-Standard Units
Before using tools like rulers or measuring tapes, we can use our body parts to measure the length of things.
Handspan: The distance between the tip of your thumb and the tip of your little finger.
Foot: The length of one of your feet.
These measurements help us understand the concept of length without using formal measuring tools.
4. Tools to Measure Length
Ruler: A tool with marked measurements (in centimeters or inches) used to measure short objects.
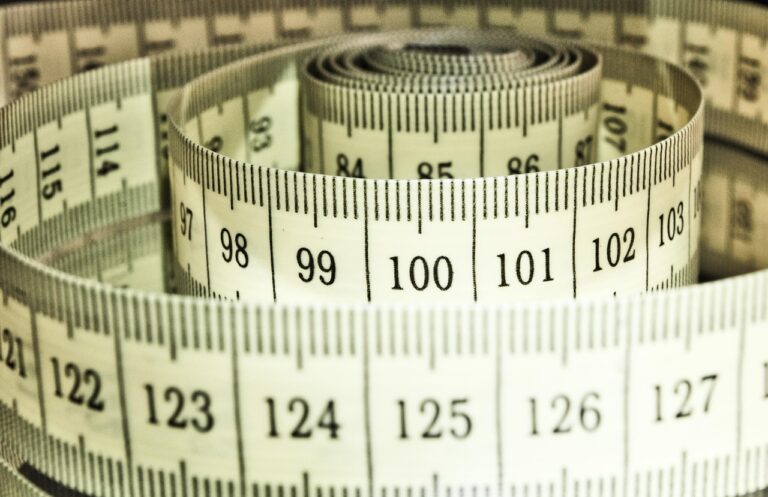
Measuring Tape: A flexible tool used for measuring longer objects.
D. Class Activities
Activity 1: Comparing Lengths
Show two objects to the class (e.g., a pencil and a book).
Ask pupils to identify which one is longer and which is shorter.
Discuss the difference in lengths of objects in the classroom.
Activity 2: Measuring with Hands and Feet
Ask pupils to measure the length of their desks or books using their hands (handspan) or feet.
Pupils can compare their results with each other.
Activity 3: Measuring with a Ruler
Give each pupil a small object (like a pencil or eraser).
Ask them to measure the length of the object using a ruler (in centimeters).
Pupils can then compare their measurements.
Activity 4: Length Sorting
Prepare a set of picture cards showing various objects (e.g., a pencil, a table, a car, etc.).
Pupils should sort the cards into two piles: longer objects and shorter objects.
E. Evaluation (Assessment)
Ask pupils to identify and compare the lengths of three objects in the classroom.
Have them measure the length of a pencil using a ruler and report their findings.
Show two objects and ask pupils to identify which one is longer and which one is shorter.
F. Assignment
Ask pupils to measure the length of three objects at home using their hands or feet.
Pupils should draw pictures of the objects and label them as “longer” or “shorter” than the other objects.
G. Conclusion
Review the key concepts of length and the different ways to measure it.
Praise pupils for their participation in class activities.
Emphasize the importance of comparing and measuring objects accurately.
